
Integrate Create with Flashboard
Create a complete CMS for Create in seconds
1. Find your Create project's database URL
Go to your Create project. If you don't have a database yet, ask the agent to add one for you. Open the top menu.
Select "Secrets"
On the Secrets page, look for the one called DATABASE_URL.
Important: Create generates a test database when you add one to your project, and another production database only when you publish it. Make sure you've published your project before connecting it to Flashboard, since Create only shows the production DATABASE_URL.
Click the eye icon to reveal its value.
Attention! Treat your DATABASE_URL like a password. Do not share it.
Click the value to copy it to your clipboard.
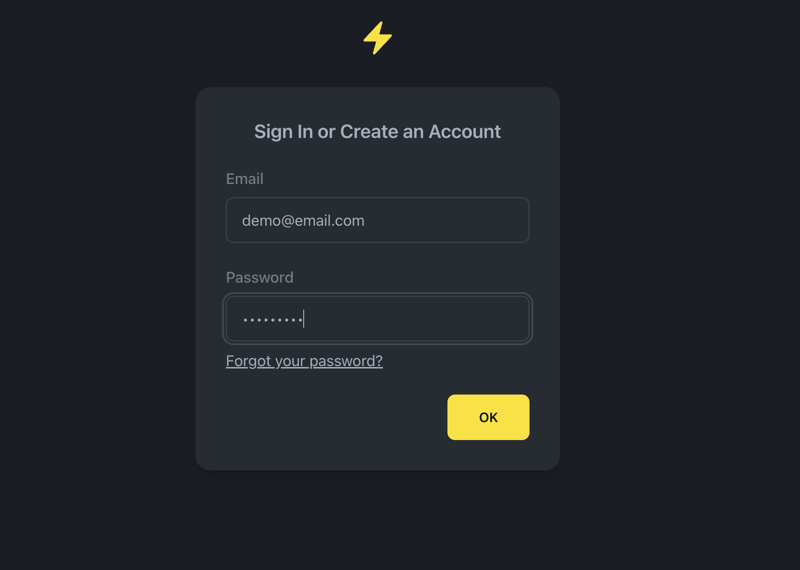
2. Create a Flashboard account
Once you have copied your connection URL, sign in to Flashboard. Enter your email and choose a strong password. The password will be used to encrypt your database credentials, so make sure you remember it!
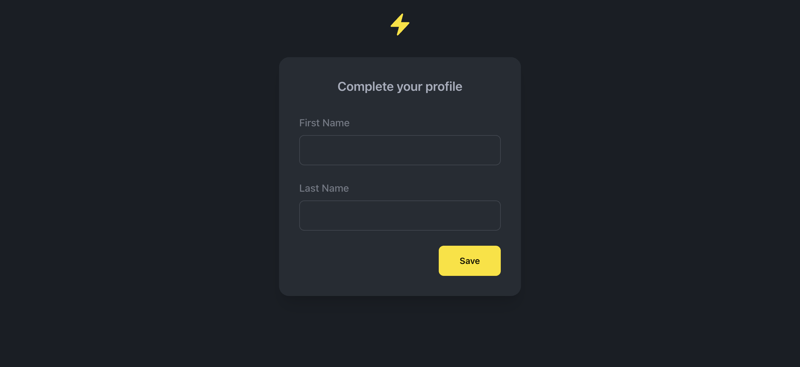
Complete your profile:
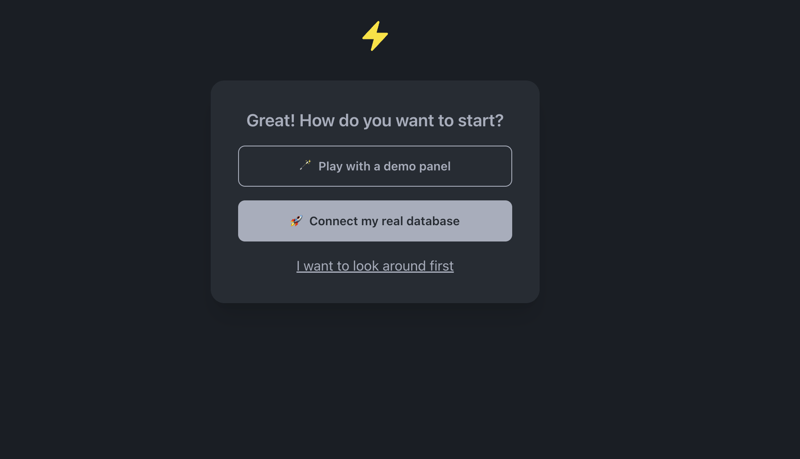
3. Connect a database
Choose Connect my real database
Paste the Connection String you copied from step 1 on the field Connection URL.
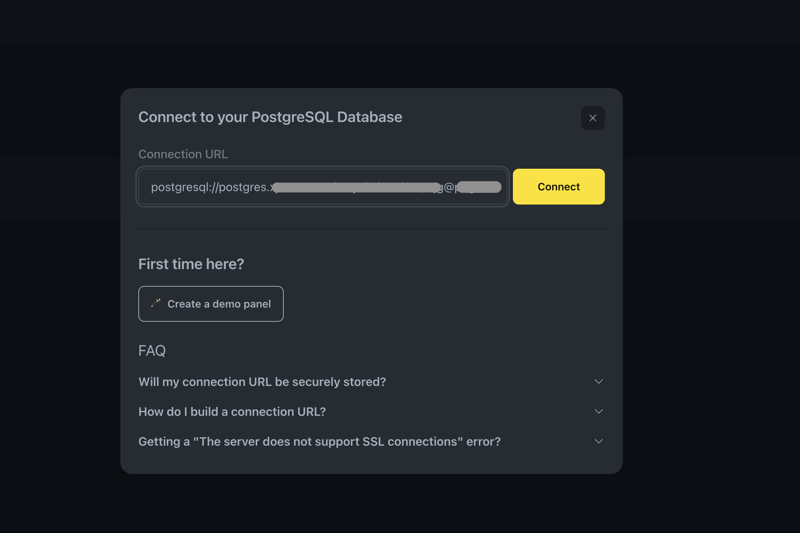
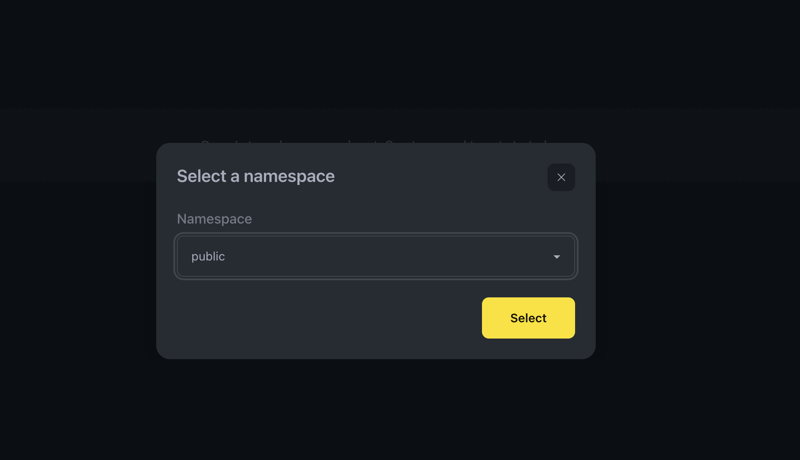
Optional: select a namespace. Most of the times, it will be public. If there's only one namespace, you'll go directly to the next step.
Choose a panel name and slug, then confirm the same password you used to sign up. It will be used to encrypt the connection URL. Only you and your team will have access to your data.

You're connected and ready to go!
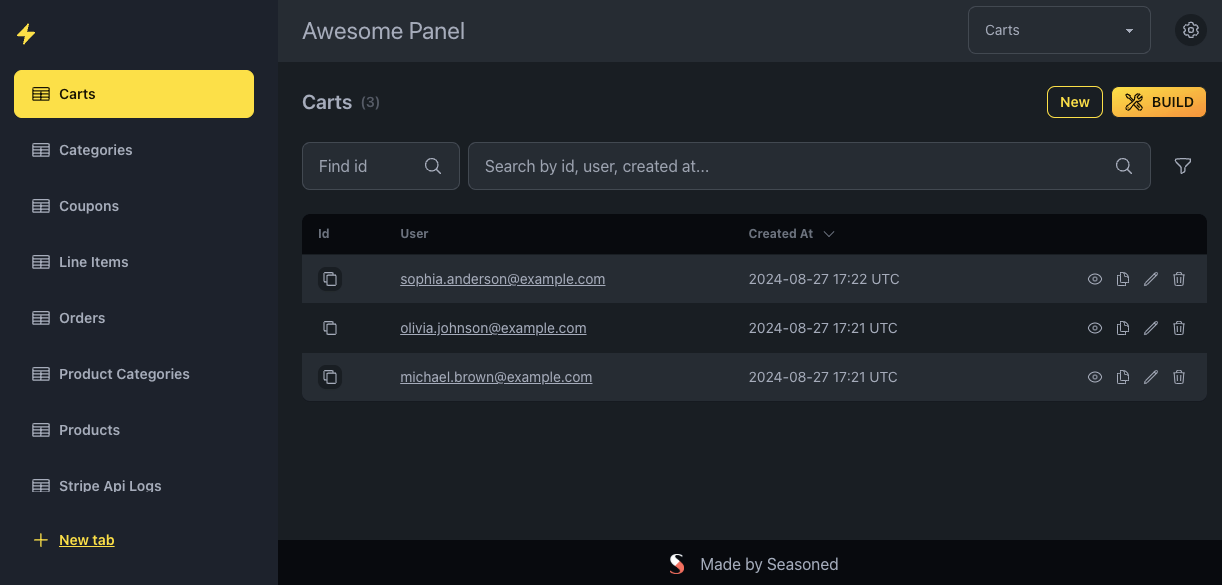
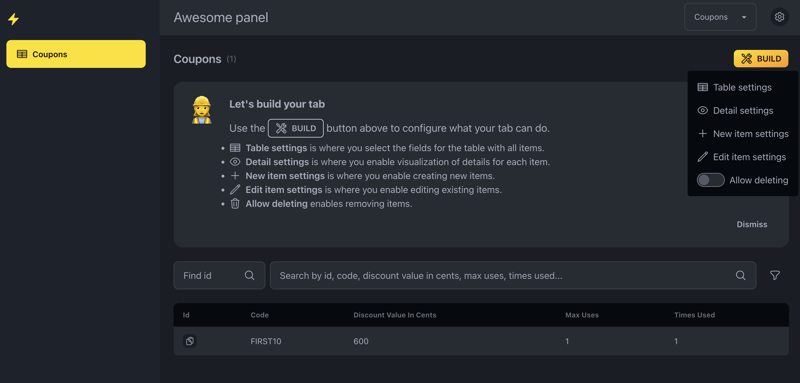
4. Optional: customize your tabs
We generated a panel for you, and enabled all actions on your tabs by default. But you can always customize the fields or disable specific actions, like creating, updating, or deleting items.
Congratulations, you have a live CMS and admin panel for your Create database! 🎉
From here on, you can use it as-is, create more tabs, or share panels with team members.

Need help?
Hey! I'm Felipe, Flashboard's founder. I'll personally help you and make sure you get your panel up and running.